Working with Blocks
Blocks are the core components of your workflows in FlowRunner™, each offering distinct functionality to automate tasks and processes. While individual blocks have unique capabilities, the principles for adding, connecting, and editing them remain consistent. This chapter provides an overview of these principles to help you efficiently build and refine workflows in the Flow Editor.
The Basics of Blocks
-
Starting Point: Every flow begins with a
Startmarker, which designates the starting point of your workflow. This marker is a fixed reference for your automation's entry point.
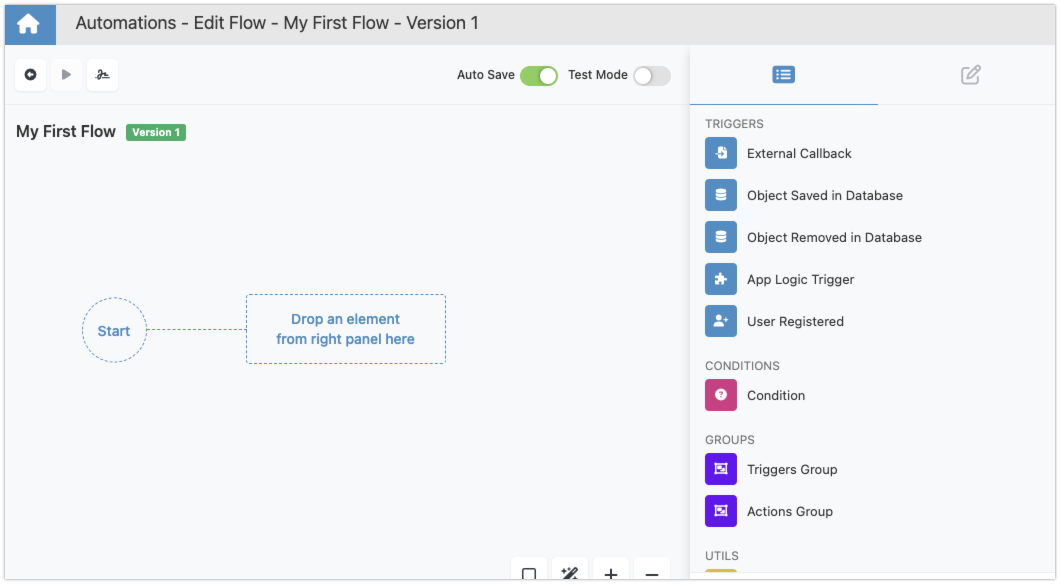
Changing the Starting Point
To change the starting block, follow the steps outlined in the interactive tutorial below:
-
Adding Blocks: Drag blocks from the Blocks Toolbox onto the Editor Canvas to build your workflow. Each block adds new capabilities to your automation.
-
Initiating Flows: A flow can start with various blocks, including triggers, actions, or groups. For example, triggers wait for specific events to activate the subsequent blocks in your workflow.
Connecting Blocks
-
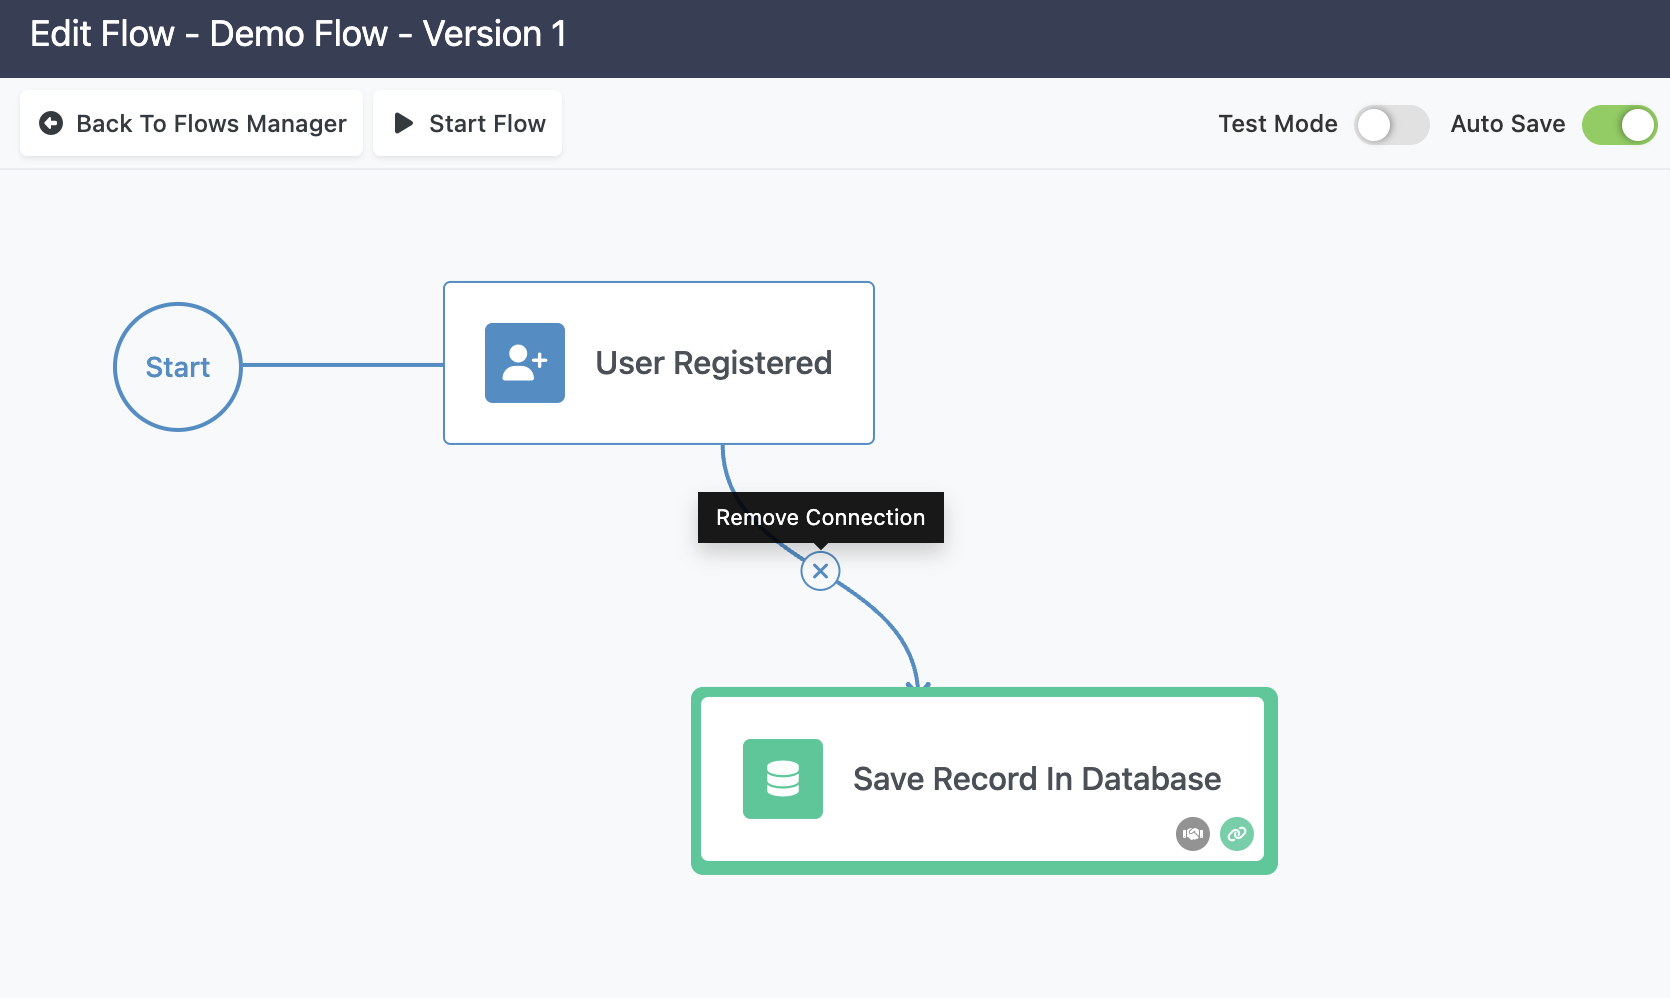
Flow Transitions: Blocks are connected by lines that represent the execution flow, guiding the logic from one block to the next. To remove a transition, hover the mouse over the connecting line and click the Remove Connection icon.
-
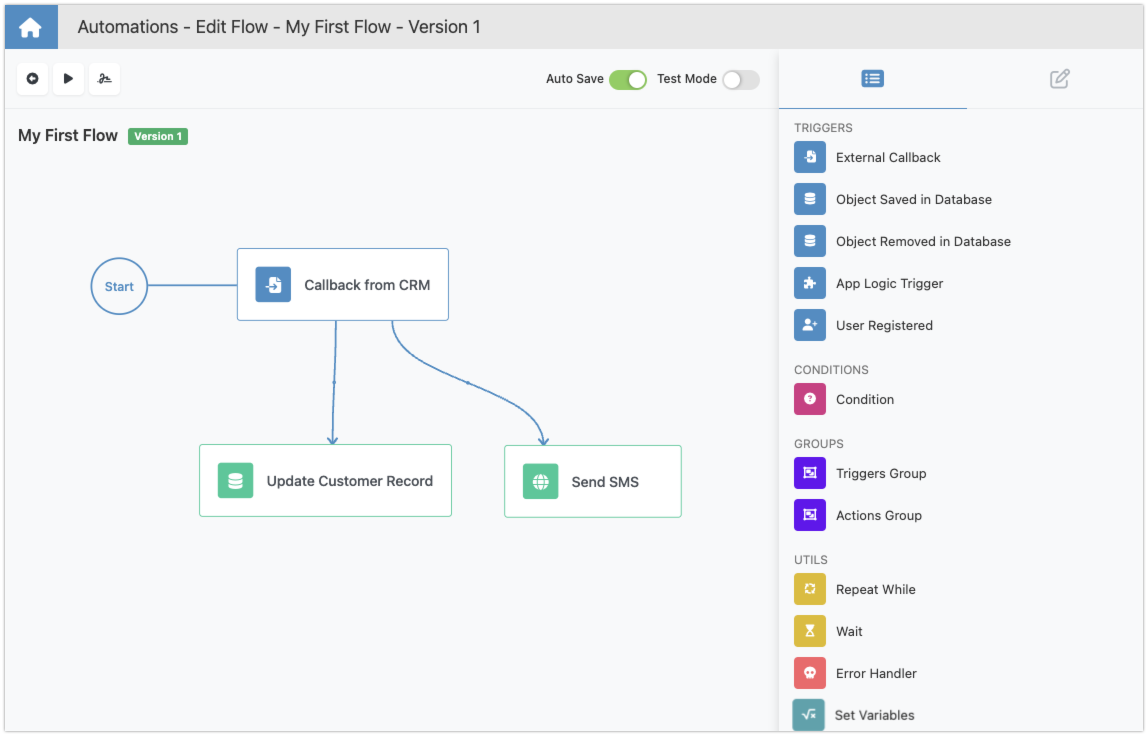
Multiple Successors: A block can lead to multiple successors, enabling parallel execution. For example, in the image below, the
Callback from CRMtrigger activates two successors, both executed when the trigger fires:
-
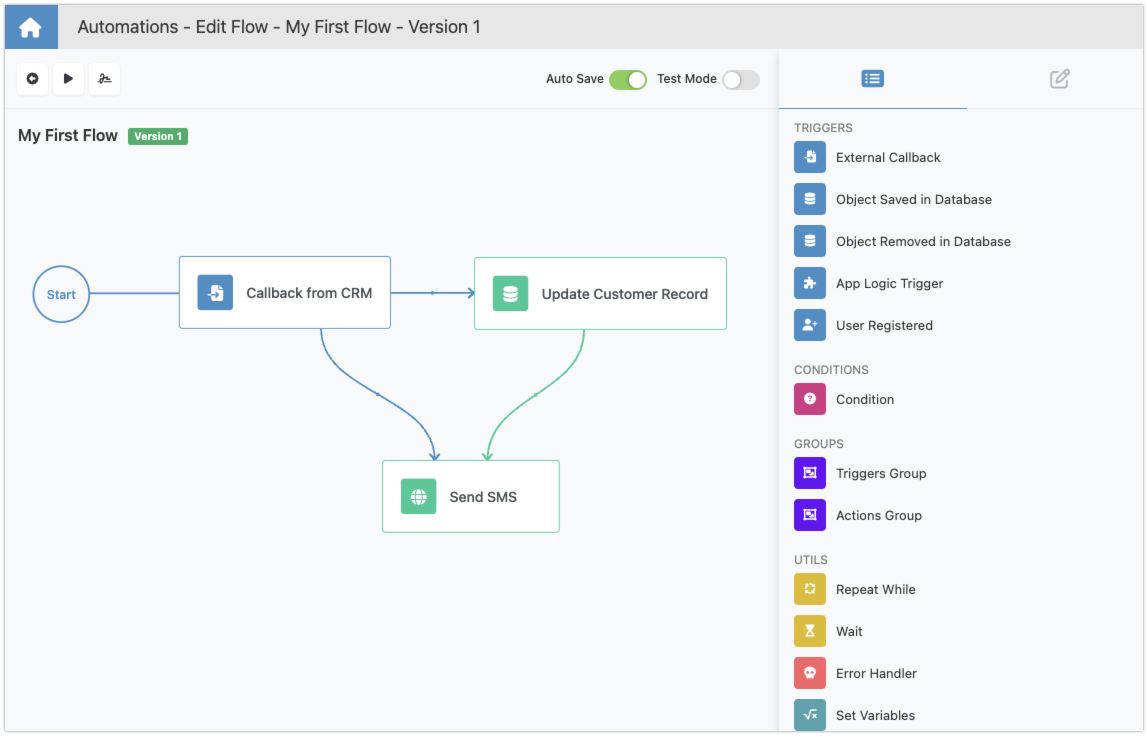
Multiple Predecessors: Similarly, a block can have multiple predecessors, allowing different triggers or conditions to converge. In the image below, the
Send SMSblock has two predecessors, executing immediately after each:
Handling Concurrency with Multiple Predecessors
Use Action Groups or Trigger Groups to manage concurrency effectively.
Editing and Viewing Properties
Clicking a block opens its properties in the Property Editor, where you can customize its settings to fit your automation needs.
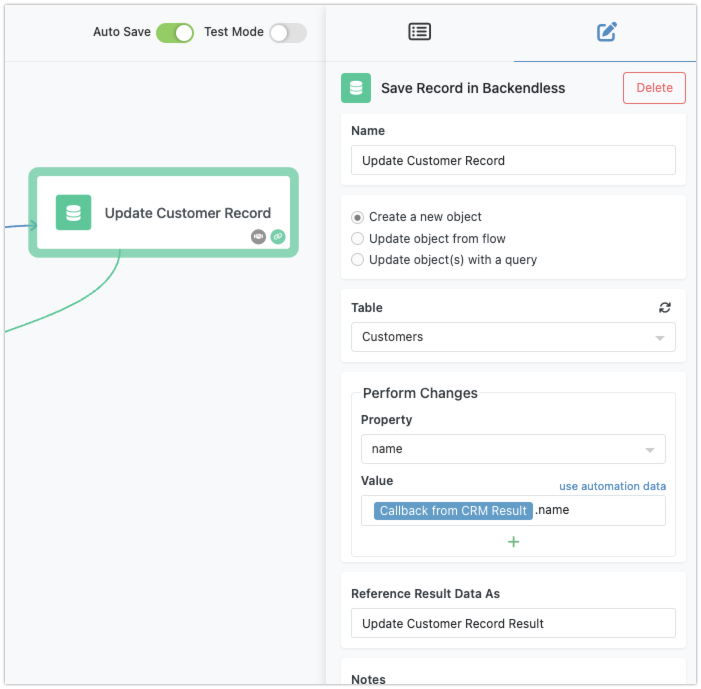
The properties displayed vary depending on the block. For detailed information about specific blocks, refer to the relevant sections in the documentation.
