Quick Start Guide
FlowRunner™ is a powerful tool for automating workflows, and getting started is a straightforward process. Whether you’re new to Backendless or already have experience with its platform, this guide will help you set up your workspace and begin exploring FlowRunner™.
 Access the Backendless Console
To begin, navigate to the Backendless Console. This is your central hub for managing applications and accessing FlowRunner™.
Backendless Console in Different Geographies
Backendless is available in multiple hosting zones. To access FlowRunner™ in a specific hosting zone, use the following URLs:
 : https://develop.backendless.com/c/flow-runner
 : https://eu-develop.backendless.com/c/flow-runner
 Log In or Create an Account
You can log in using your Google or GitHub credentials for quick access. Alternatively, if you don’t already have an account, create one using your email and password. Once your account is ready, log in to continue.
 Set Up Your Workspace
If you’re new to Backendless, you’ll be greeted with a welcome screen as the system creates your workspace. This screen serves as your introduction to FlowRunner™ and its features.
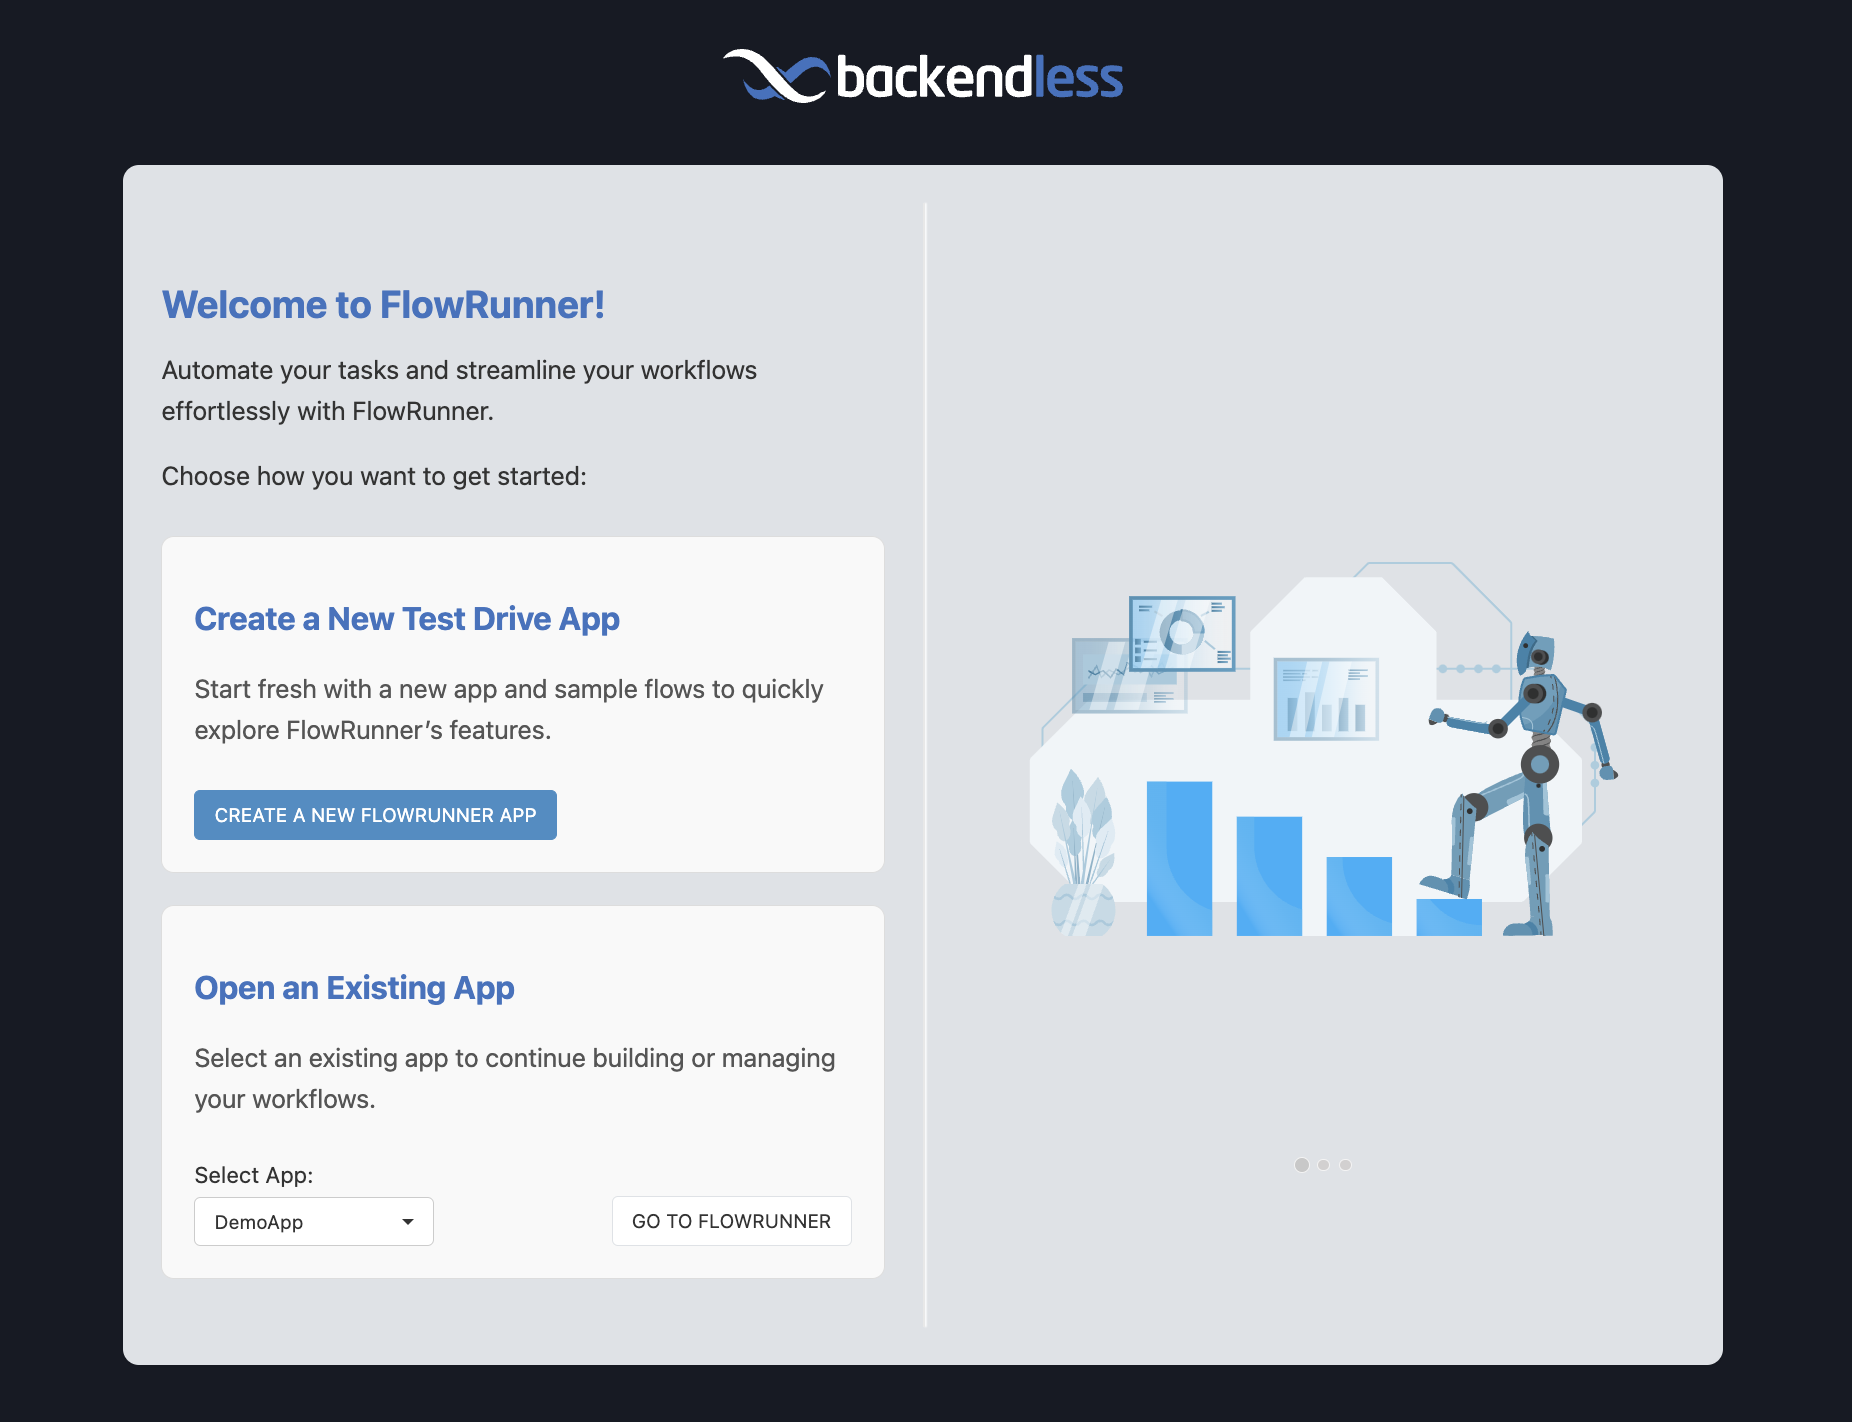
For users who already have applications in Backendless, the welcome screen offers two options. You can either create a new training/demo workspace specifically for FlowRunner™ (this is the recommended option) or access FlowRunner™ within the context of an existing application.
 Explore the Demo Workspace
Once your workspace is ready and you’ve selected the FlowRunner™ training/demo workspace, you’ll be presented with a collection of demo flows. These sample flows showcase various features and techniques available in FlowRunner™, providing an excellent starting point for your exploration.
To learn more about these flows and how they work, refer to the Demo/Training Flows section of this guide, where you’ll find detailed walkthroughs and explanations.
 Create Your First Flow
Now that your workspace is set up, let’s build your first automation!
What Will You Build?
In this tutorial, you’ll create a flow that fetches news articles from an external API, analyzes their sentiment using AI, and logs the results in real-time. This simple yet powerful example will teach you how to:
- Connect with external APIs to retrieve data dynamically.
- Leverage AI tools for decision-making and sentiment analysis.
- Log flow progress for monitoring and debugging.
Before You Begin
Before diving into building your first flow, ensure you’ve completed the following setup steps:
✅ Create a Backendless Developer Account
Sign up for a free account at the Backendless Console. This account gives you access to FlowRunner™ and all the tools needed to build, test, and run your flows.
✅ Obtain an API key from NewsAPI.org
Register for an API key to fetch live news articles in your flow.
✅ Log in to the Backendless Console
Once your account is ready, navigate to FlowRunner™ to start building your flow.
By completing these steps, you’ll have everything in place to start building and running your first FlowRunner™ automation.
Follow the Guided Tour or Watch the Video
To help you get started, we provide two ways to learn:
Step-by-step interactive walkthrough.
Watch an in-depth explanation with a real-time demo.
The following "static" values are used in the flow:
- URL in the HTTP Request block:
- Query in the HTTP Request block:
- AI Router Prompt:
Next Steps
With these simple steps, you’re ready to explore FlowRunner™ and start automating your workflows.