The Flow Editor
A process you can describe out loud - fetch the order, check the total, flag anything over $100 - becomes something FlowRunner runs, and the editor is where you build it. You place each step on the canvas, draw the path between them, fill in what each one needs, and try a step right there to see what it produces before the version ever goes live.
The editor's working areas
The editor is four areas, and the rest of this page works through them in the order you use them.
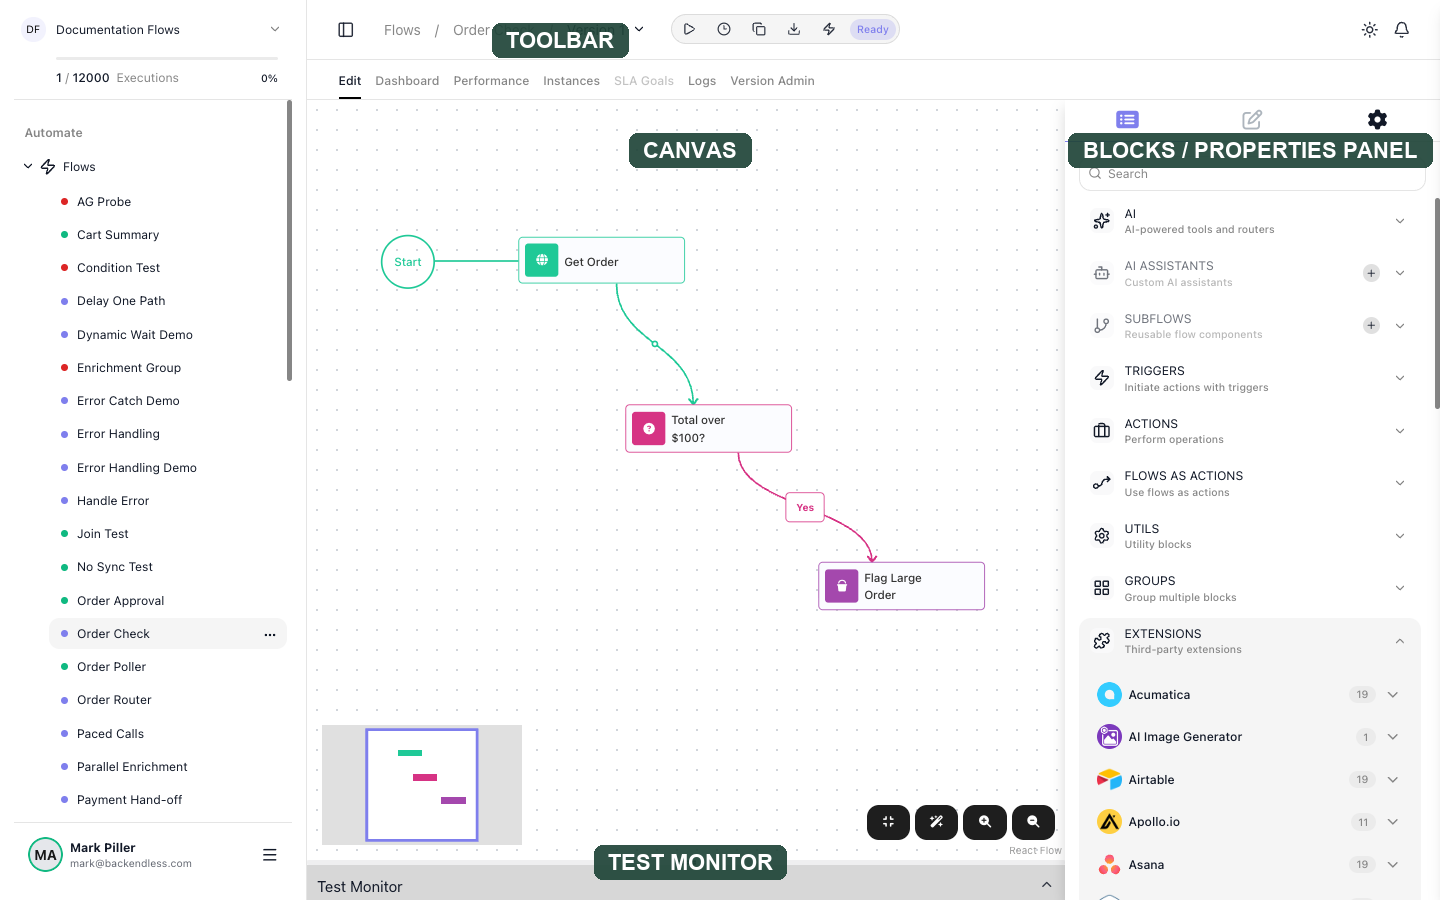
- The canvas is the large dotted area in the middle. It is the flow itself: what you arrange there is what runs.
- The right panel is where you choose blocks and configure them. Three icons at its top switch between the block palette, the settings of whichever block you have selected, and the flow's own settings.
- The toolbar along the top carries the version's status and the controls that act on it.
- The Test Monitor across the bottom stays collapsed until you run something, and then shows what the run took in and gave back.
Place a block, and choose which one runs first
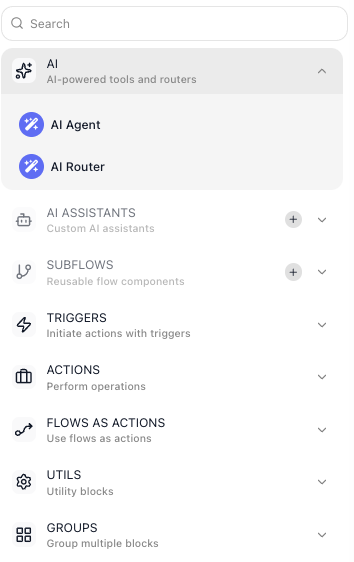
Blocks come from the palette, the first of the right panel's three tabs. It groups them by what they do, and its Search box finds one by name when you already know what you want. Blocks covers what lives in each group.
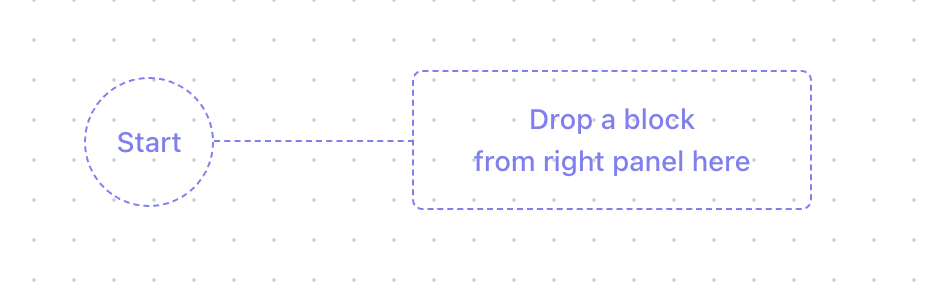
A new flow shows a Start marker joined to a dashed target that reads Drop a block from right panel
here. Drag a block onto that target and it is placed and wired to Start in one move - that block is
now the first thing the flow does.
A flow can start with any kind of block. A trigger is one option - it waits for something to happen outside - but an action works too, when the run is started by a schedule or an API call.
Dropping a block anywhere else on the canvas places it without connecting it, which is what you want when you are about to wire it in yourself.
Selecting a block switches the right panel from the palette to that block's settings. To get the palette back and add the next block, click the list icon - the leftmost of the three icons at the top of the panel. That is the single most common thing to get stuck on.

The icons on a block
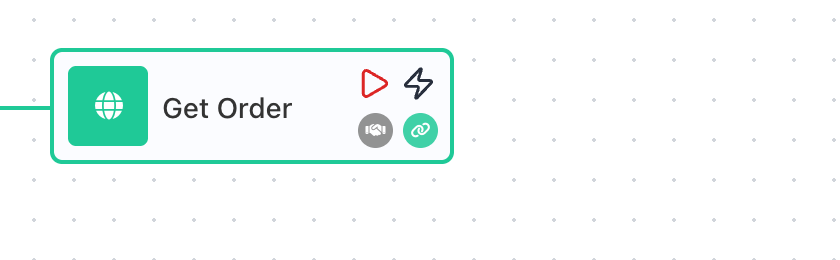
Hover any block on the canvas and a small row of icons appears on it, the same on every block:
- The play icon runs this block on its own so you can see what it produces - its tooltip reads Run in test mode.
- The lightning icon starts a run of the whole flow beginning at this block - Run instance from this element.
- The chain icon is the one you drag from to connect this block to the next - Drag to connect with another block.
- The grey icon at the lower left opens this block's SLA settings.
Running a single block and running a whole flow are covered in Testing; connecting is next.
Connect blocks into a path
A connection sets the order the flow runs in: a run enters a block, the block finishes, and the run travels along the connection to the next block. A connection decides where execution goes next - it does not decide who uses the data. A block's result is available to every step that comes after it, and you choose which of those steps actually read it when you fill in their fields. A block can have as many outgoing connections as you draw - one continues a straight line of steps, and two or more start branches that run at the same time, covered in Running Steps in Parallel.
You draw a connection by dragging from a block's chain icon - in the hover row covered above - onto the block that comes next.
Some blocks have more than one outgoing branch, and each branch leaves the block as its own connection:
- A Condition has two, Yes and No, one for each answer to the question you set.
- A Value Router and an AI Router have one for every branch you name.
The canvas labels each of them, so you can read which path a run will take without opening anything.
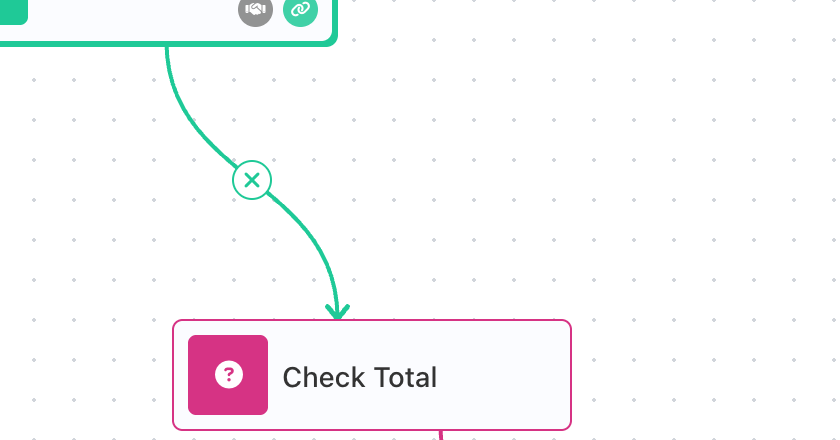
To remove a connection, hover it: an × appears at its midpoint, and clicking it disconnects the two blocks without touching either one.
Delete a block, or several at once
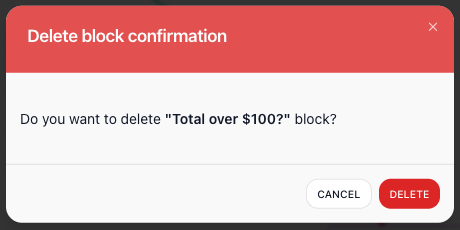
Select a block and use DELETE at the top of its settings, or press Del or Backspace with it selected. The editor names the block and asks you to confirm, because nothing undoes it.
The connections go with the block. Delete one from the middle of a path and both the connection into it and the connection out of it disappear, which leaves the block that followed it with nothing feeding it: it picks up a red badge saying it is not connected to its parent, and the version drops from Ready to Not Ready until you wire it back.
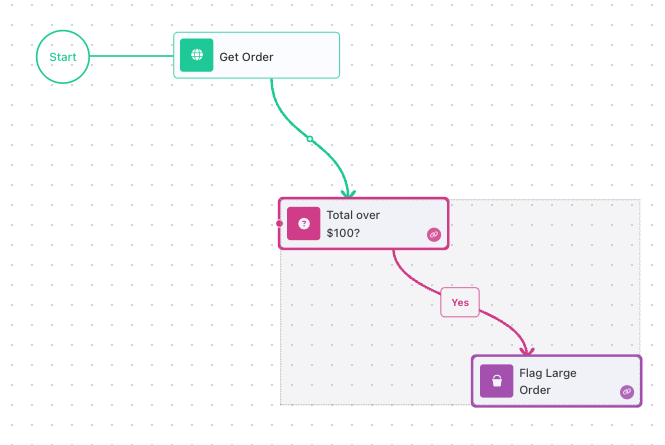
To work on a section of the flow at once, hold Shift and drag a rectangle across the canvas. Every block inside it is selected. Drag any one of them and the whole selection moves together, keeping its shape; delete with the selection active and one confirmation names all of them.
Name your blocks and lay out the flow
Blocks arrive named after their type. Rename one in the Name field at the top of its settings, and drag blocks around the canvas so the path reads in the order it runs. Give a block a name that says what it does; for a Condition, whose exits are Yes and No, phrase the name as a question those two exits answer - a Condition named Total over $100? tells you at a glance what its Yes and No mean.
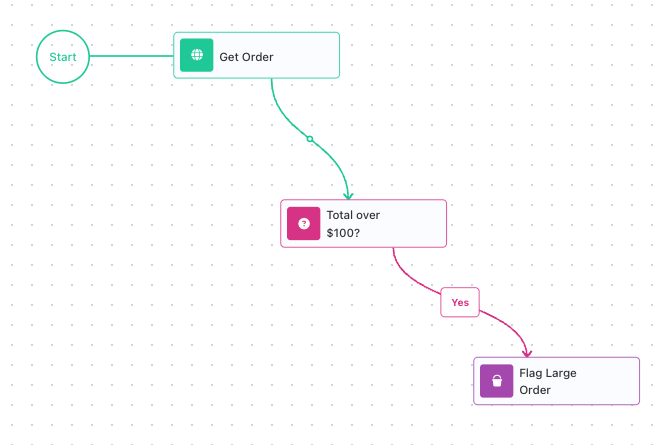
A block's name is also how later steps reach its result. By default a block's result is available under an
alias that is its name followed by Result, so a Condition named Total over $100? hands its result to
later steps as Total over $100? Result. Rename the block and that alias follows, and steps that
already read it re-point themselves, so nothing breaks and you can rename at any time.
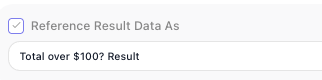
When you want an alias that stays fixed, tick Reference Result Data As in the block's settings and type the name you want. From then on it is yours: renaming the block leaves it alone.
Type a value, or pick one from earlier data
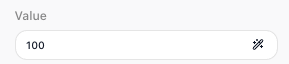
Selecting a block opens its settings. A field that can hold either kind of value carries a wand icon at its right edge: type into the field for a fixed value, or click the wand icon to pick a reference to data an earlier block produced. Picking, drilling into a result and combining values are covered in the Expression Editor.
How references appear in this documentation
In the product, a value picked from the Expression Editor sits in the field as a pill carrying the icon of the block it came from. Throughout this documentation those references wear a matching pill - Get Order Result → total - so you can always tell a reference to earlier data from a value that was typed in.
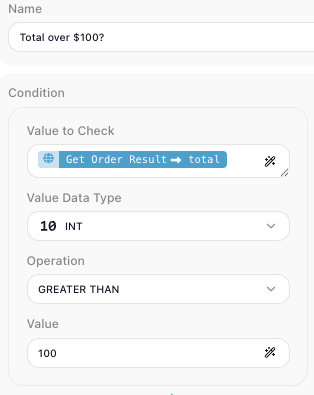
In the example below, the Total over $100? step compares two things. Its Value to Check holds a picked
reference, Get Order Result → total - the total from the step before it - while Value holds a
typed 100.
Most action blocks describe their result up front. A block from a Shared Extension or the Marketplace ships with a sample of what it returns, so its fields are there to pick before the block has ever run. A few blocks cannot know their shape in advance: an HTTP Request does not know a response until it has received one, so nothing from it appears in the picker until you run it once (Testing covers running a single block). After that first run the editor remembers what came back, and its result opens up there like any other.
Get the version to Ready
A block that is missing something carries a red badge on the canvas, and the number on it is how many problems it has. Hover the badge and the editor names them.
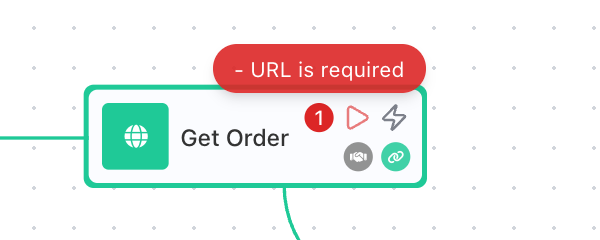
The version's status, at the right of the toolbar, says the same thing for the whole flow. While anything is unfinished it reads Not Ready, and hovering it lists every problem grouped by the block it belongs to - a required field left empty, or a block that is not connected to the path.
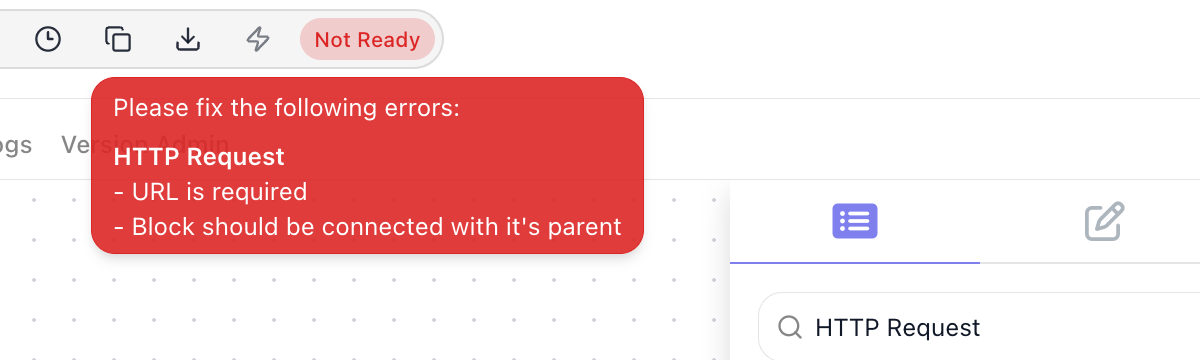
Fix the last one and the status flips to Ready immediately. Until it does, the Start flow control at the left of the toolbar stays disabled - a version cannot go live with anything outstanding.

Work inside a container block
Some blocks hold other blocks: a loop holds the steps it repeats, a group holds the steps that run together. On the canvas they look like any other block, because their contents are not shown there - you open them to see inside.
Hover one and Expand appears on it. Clicking it replaces the whole canvas with that block's own contents, and a bar across the top names the block you are inside so you know where you are; leaving that bar takes you back out to the flow around it.
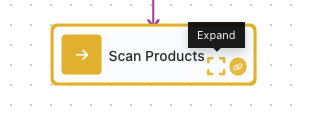
A newly added container opens empty: the canvas you are looking at belongs to the block, not to your flow, so there is nothing in it yet. Anything you place while you are inside belongs to that container - it runs once per pass of the loop, or as part of the group, not as a step of the outer flow. Building inside one works exactly as it does outside - the same palette, the same connections, the same status. Repeating Steps and Working Through a List cover what the loops themselves do.
Test a block without going live
You do not have to put a version live to find out whether a step works. Two controls run a single block, and they do the same thing:
- run block in the Test Panel at the top of the block's settings.
- the play icon in the block's own row of icons on the canvas, whose tooltip reads Run in test mode.
Either way the Test Monitor opens across the bottom and shows what the block took in and gave back. The run is real - an action block genuinely performs its action - so Testing is worth reading before you try one that reaches outside the flow.
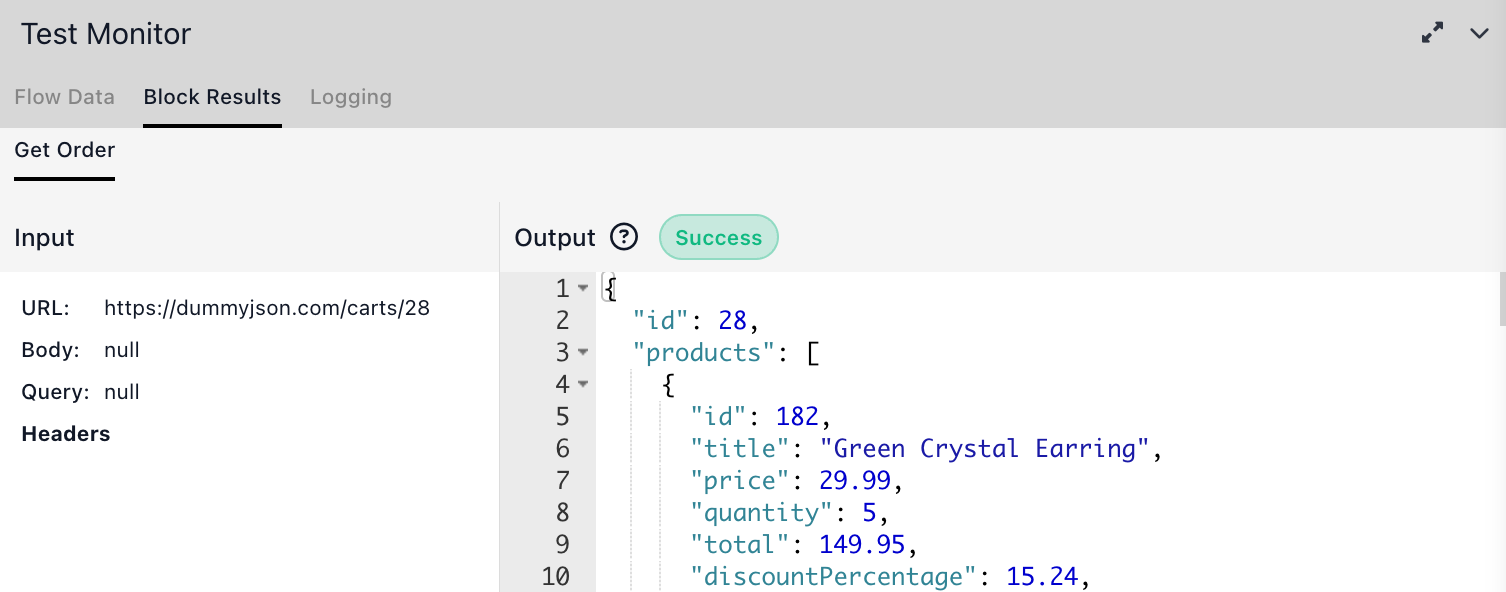
The lightning icon next to it is not a single-block test: it reads Run instance from this element and starts a run of the flow itself. Testing covers the Test Monitor's tabs, giving a flow its test data, and running a whole flow instead of one block.
Change a flow that is already live
You always work on an editable draft. A version that is LIVE opens read-only: its first tab reads View instead of Edit, and the palette is not there at all, so there is nothing to drag in.

To change what it does, clone the live version, edit and test the copy, then start the copy: it takes over as the live version and the old one steps aside, so the automation never stops running. Stopping the live version also hands back an editable draft, but nothing runs while it is stopped. Running Flows covers both.
Things to watch for
- There is no Save button, and no undo. Every change is kept the moment you make it - nothing to save, and nothing to take back. The editor has no undo or redo control, and Cmd+Z does nothing to the flow: a block you moved stays where you dropped it, and a block you deleted stays deleted (inside a text field Cmd+Z still undoes your typing, but only there). Treat a delete as final.
- A block you dropped and never wired looks finished but is not. It sits there looking like any other block while holding the whole version at Not Ready; the status tooltip is what tells you.
- A Condition takes one exit per run, not both. Wiring Yes and No sends the run down one of them - it is a fork, not a fan-out. Two plain connections from one block are the fan-out (Running Steps in Parallel).