Quick Start: A Contact Us Form (with code)
Almost every site has a Contact Us page, and the submission has to reach a human as something readable rather than a raw blob of fields. This guide builds the flow that does it: a website form posts to your flow, the flow drops the submitted values into an HTML email template, and sends the result to your inbox.
The substitutions are done here in a few lines of JavaScript. If you would rather not write code at all, A Contact Us Form (no-code) builds the same thing with one block per placeholder. Neither is more correct, and a flow can mix both.
Nothing here assumes you have used FlowRunner before. Every block is named, you are told where to find it, and each field is filled in step by step. It takes about twenty minutes.
What you need
An email account you can send from. This guide uses Gmail, and step 7 walks through authorizing it. Any email extension works the same way.
The flow you are building
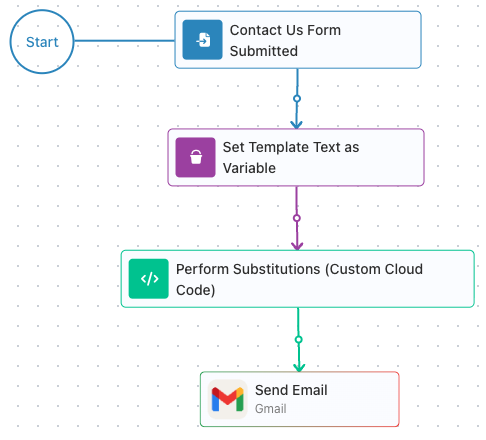
Four blocks: the form arrives, the template is loaded, one snippet fills in every placeholder, and the finished HTML is emailed.
1. Create the flow
In the left sidebar, hover Automate ▸ Flows and click the + that appears. Give the flow a name -
Contact Us - and click CREATE.
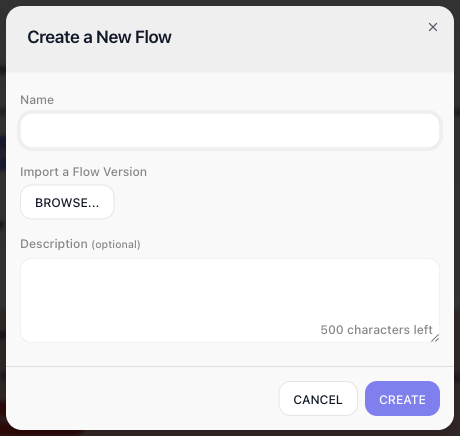
The flow opens on an empty canvas with a Start marker and a dotted placeholder that reads "Drop a block from right panel here". The panel on the right is where every block lives, grouped into categories: AI, Triggers, Actions, Utils, Extensions, and more. You build a flow by dragging blocks from there onto the canvas.
2. Add the block the form will post to
A flow does not have to start with a schedule or a button. This one starts when your website posts to it, which is what an External Callback trigger is for.
- In the right panel, expand the TRIGGERS category.
- Drag External Callback onto the dotted placeholder next to Start.
- With the block selected, its settings appear in the right panel. Type
Contact Us Form Submittedinto the Name field at the top.
Naming blocks is not decoration. The name becomes how you refer to this block's data later, so a good name now saves confusion in every step that follows.
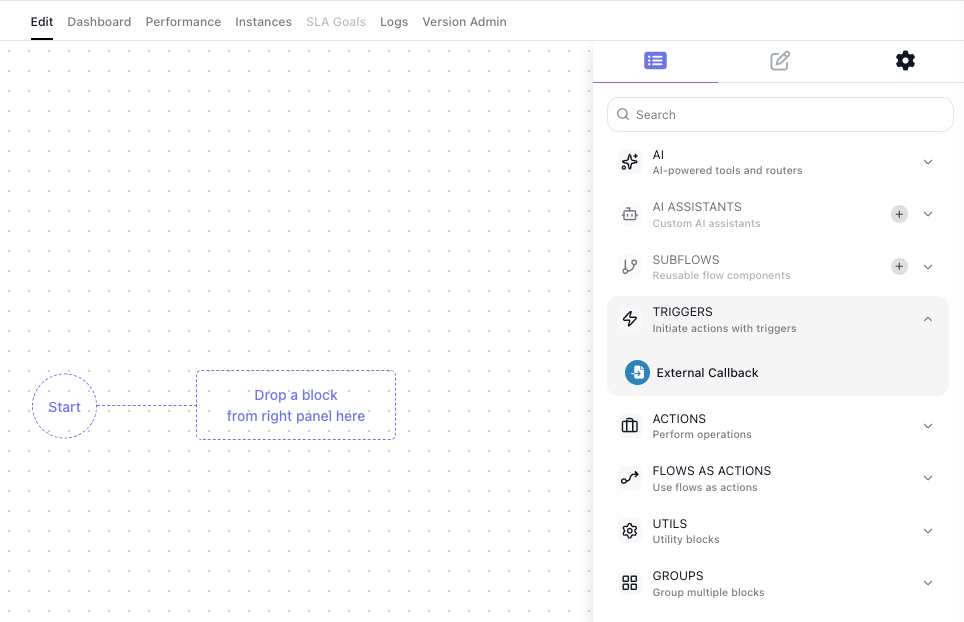
3. Copy the address the form will post to
When you select a block, the interface displays its settings in the panel on the right. Select the
Contact Us Form Submitted block and you will find Callback URL - a generated web address with a copy
button beside it. This address belongs to this trigger. A flow can hold several callback triggers, and
each one gets its own distinct URL.
Copy it, and set it as the form's submit target on your website.
Below the URL, notice Reference Trigger Data As. Whatever the trigger receives becomes available in the
flow under this name. The alias name defaults to the block's name with "Data" on the end -
Contact Us Form Submitted Data. That is the name you will look for whenever a later step needs one of the
submitted fields.
4. Send one test submission (optional, but it makes the rest easier)
The trigger does not know what fields your form sends until it has seen one submission. You can skip this and type field names by hand later, but letting the trigger learn them means you pick fields from a list instead of guessing.
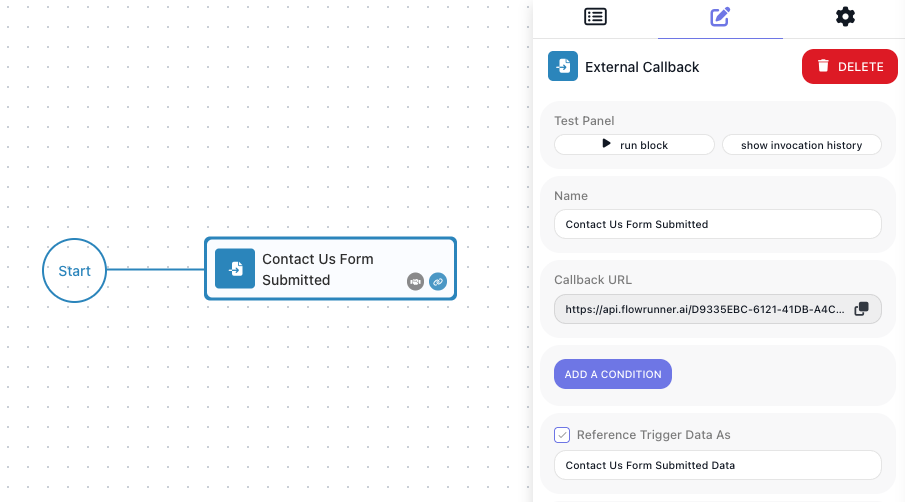
Turn on Learning Mode using the purple callback icon on the block's hover toolbar:
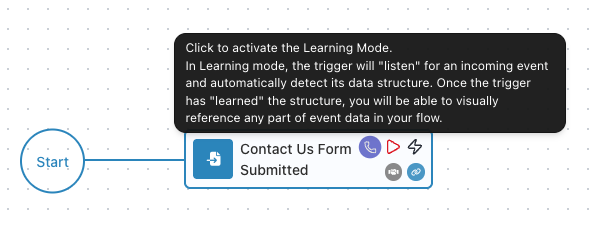
Once the learning mode is activated, send one sample submission to the Callback URL. Any of these works:
Submit the live form once with real-looking values. Best if the form is already wired up.
Paste the Callback URL into a request tool such as reqbin.com, set the method to POST, set the body type to JSON, and paste the following JSON:
Once a sample arrives the icon turns green. Click it to see what was captured - name, email, subject, phone, and message, each with its value and type. Those five fields are now pickable everywhere in this flow.
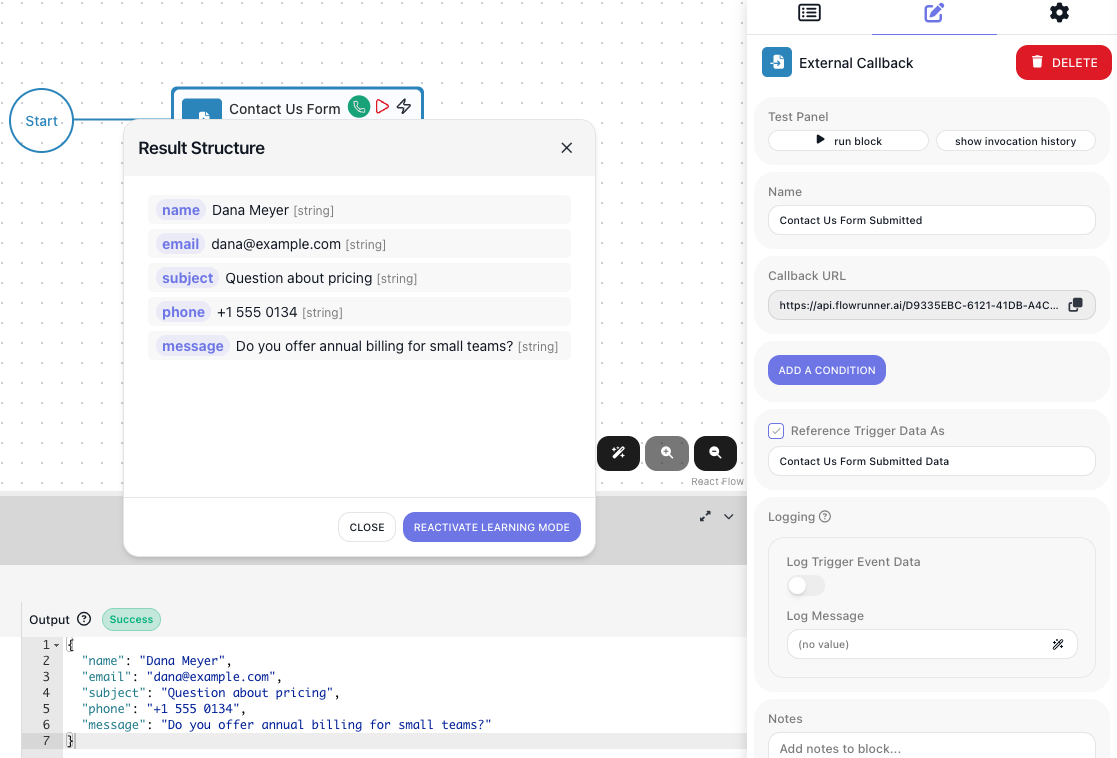
5. Put the email template into a variable
Your email is one long piece of HTML with gaps in it. You need somewhere to keep that text while the flow works on it, and that is what a variable is: a named value the flow holds for the length of a run.
- In the right panel, expand UTILS and drag Set Variables onto the canvas, below the trigger.
- Connect it to the trigger. The first block joined itself to Start because you dropped it on the placeholder. This one landed on open canvas, so nothing runs it yet. Hover the trigger block to reveal its action icons. The chain icon in the lower-right corner is the one that connects a block with its successors. Click the icon and drag onto the Set Variables block. A line joins the two.
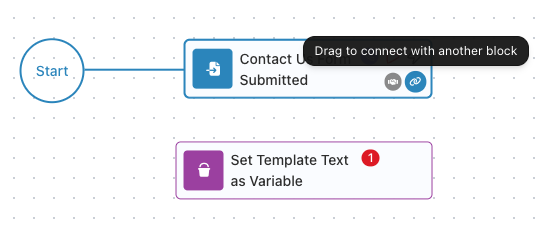
That line represents the flow's execution path. It sets the order things happen in: the run finishes one block, travels along the line, and starts the next. A block sitting on the canvas with nothing connected into it never runs at all, and the flow will report an error rather than start. You will draw one of these after every block you add from here on.
Now configure the block:
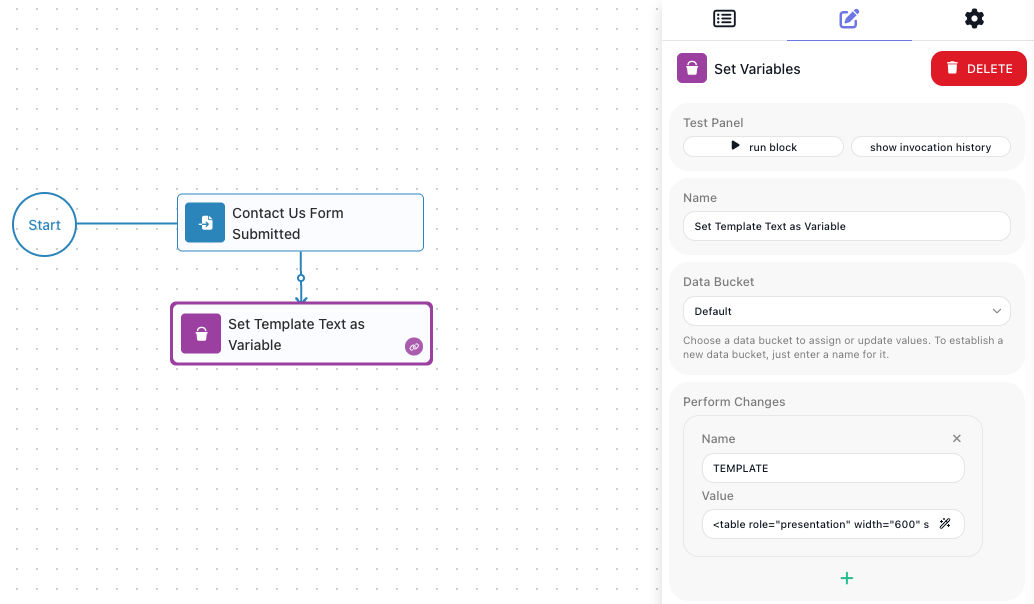
- Name it
Set Template Text as Variable. - Leave Data Bucket as
Default. - Under Perform Changes, a row asks for a Name and a Value. Type
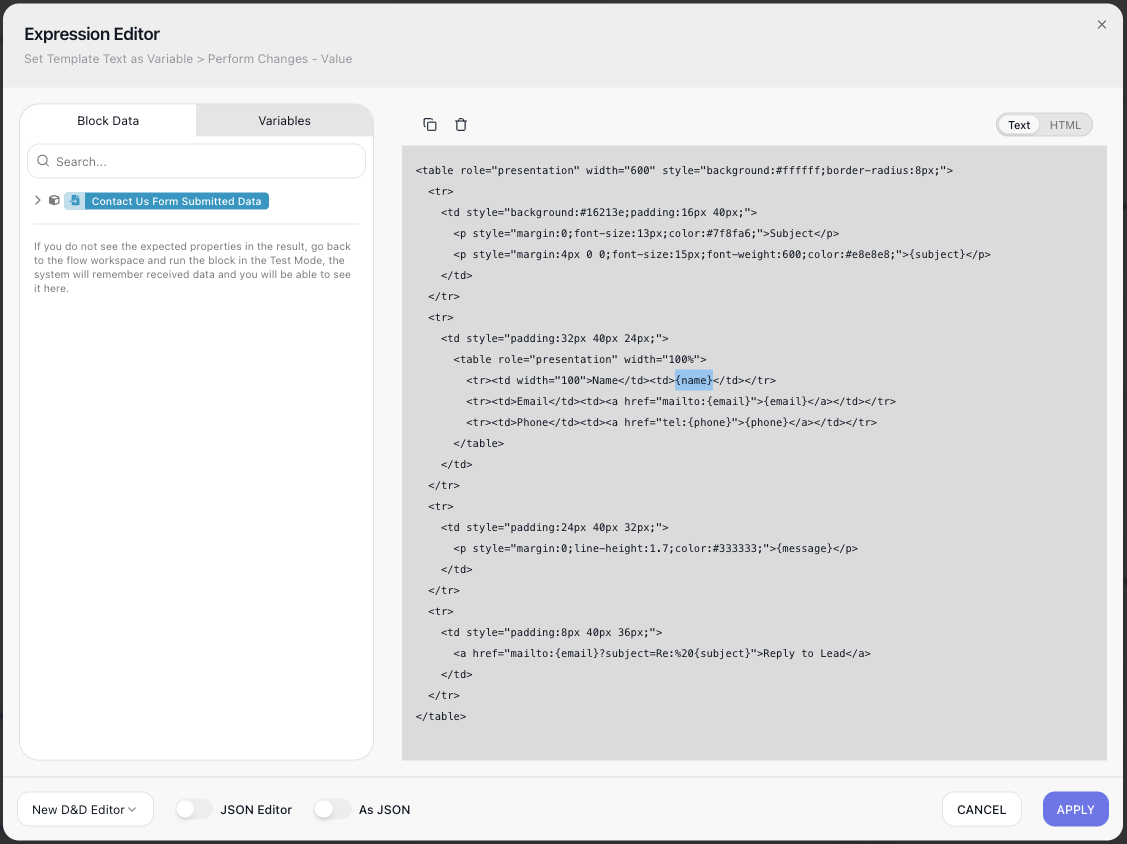
TEMPLATEas the name. - For the value, click the wand icon at the right edge of the Value field. This opens the Expression Editor - the dialog FlowRunner uses everywhere a field can hold something more than typed text. You will use it again in the next step to pick form fields; for now you only need to type into it.
- Paste your HTML into the editing area and click APPLY.
The template is ordinary HTML with placeholders where the submitted values belong - {name}, {email},
{subject}, {phone}, and {message}.
The HTML template used here
Placeholders appear more than once on purpose - {email} is both the address shown and the target of
the Reply button, and {subject} appears in the subject bar and in that button's link.
<table role="presentation" width="600" style="background:#ffffff;border-radius:8px;">
  <tr>
    <td style="background:#16213e;padding:16px 40px;">
      <p style="margin:0;font-size:13px;color:#7f8fa6;">Subject</p>
      <p style="margin:4px 0 0;font-size:15px;font-weight:600;color:#e8e8e8;">{subject}</p>
    </td>
  </tr>
  <tr>
    <td style="padding:32px 40px 24px;">
      <table role="presentation" width="100%">
        <tr><td width="100">Name</td><td>{name}</td></tr>
        <tr><td>Email</td><td><a href="mailto:{email}">{email}</a></td></tr>
        <tr><td>Phone</td><td><a href="tel:{phone}">{phone}</a></td></tr>
      </table>
    </td>
  </tr>
  <tr>
    <td style="padding:24px 40px 32px;">
      <p style="margin:0;line-height:1.7;color:#333333;">{message}</p>
    </td>
  </tr>
  <tr>
    <td style="padding:8px 40px 36px;">
      <a href="mailto:{email}?subject=Re:%20{subject}">Reply to Lead</a>
    </td>
  </tr>
</table>
Single braces are deliberate. FlowRunner's own expressions use double braces, so single-brace placeholders stay plain text and are not mistaken for something the editor should work out.
6. Fill in every gap with one code block
Now the substitutions. A Custom Cloud Code block runs a snippet of JavaScript on the server as one step of the flow. It gets a fresh sandbox on every run, so nothing carries over between runs, and it has no network access - it works on what you hand it and returns a value.
That last part is the bit to hold on to. The block does not reach into the flow and help itself to data. You pass values in by name, your code returns one value, and that returned value becomes the block's result.
- From the ACTIONS group, drag Custom Cloud Code onto the canvas after the Set Variables block,
and connect the two by dragging from the Set Variables block's chain icon. Name it
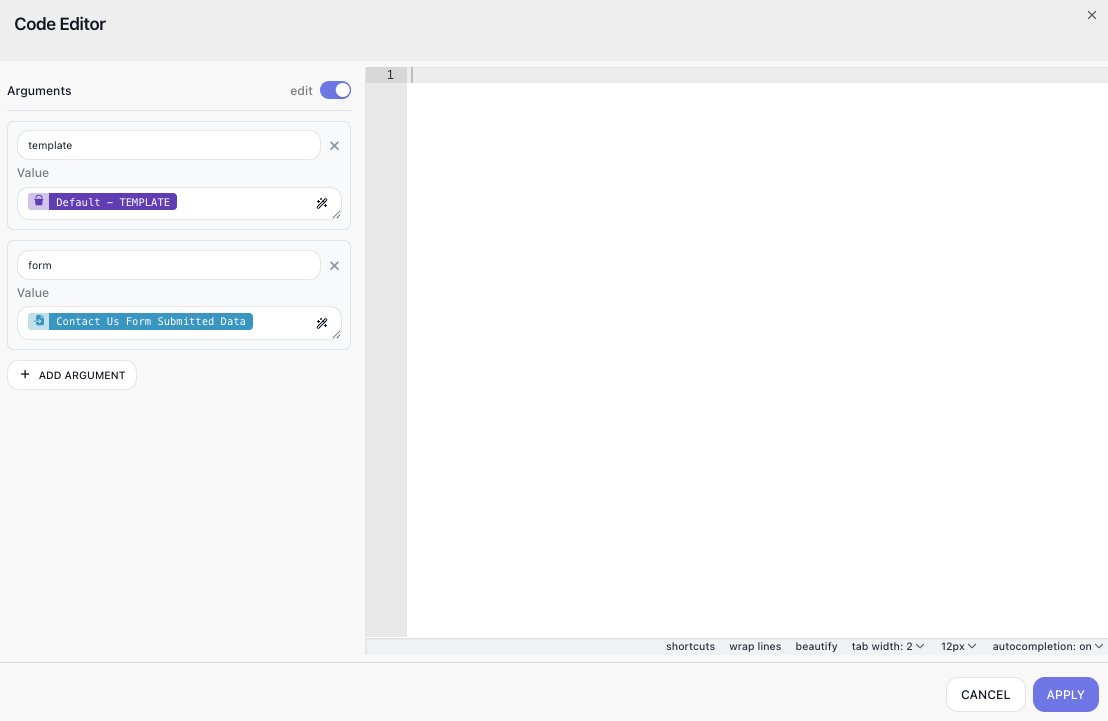
Perform Substitutions. - Click Open Code Editor. Everything else happens in the window that opens: the arguments you pass in are declared down the left side, and the code that uses them goes in the editor on the right.
Start with the arguments. Click ADD ARGUMENT twice and fill in the two rows. Each pairs a name with a Value expression - click the wand to pick it - and that name becomes a ready-made variable inside your code:
| Argument name | Value to pick |
|---|---|
template |
the Default - TEMPLATE variable |
form |
Contact Us Form Submitted Data |
Values arrive as the types they already were, so form is a real object and form.name reads straight off
it.
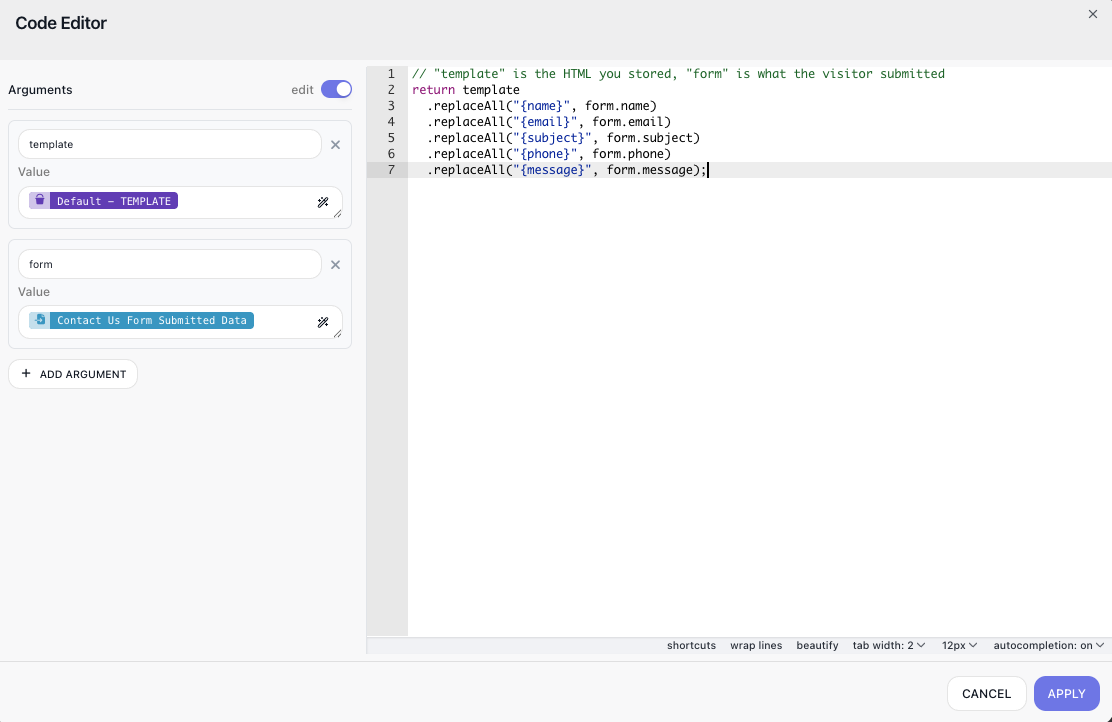
Now the code. Click into the editor on the right and write the substitutions:
// "template" is the HTML you stored, "form" is what the visitor submitted
return template
  .replaceAll("{name}", form.name)
  .replaceAll("{email}", form.email)
  .replaceAll("{subject}", form.subject)
  .replaceAll("{phone}", form.phone)
  .replaceAll("{message}", form.message);
Use replaceAll, not replace. Given a plain string to search for, replace swaps only the first
occurrence - and {email} appears three times in this template, once in the contact details and twice in
the Reply button's link. With replace, that button would still be pointing at {email} when the email
went out.
Click APPLY to close the window and keep both the arguments and the code.
Whatever you return becomes the block's result, published under the alias in
Reference Result Data As - Perform Substitutions Result if you leave it at the default. That is the
finished HTML, and it is what the email step reads.
One block here, five in the no-code version
Each substitution is one line, and a sixth placeholder means one more line. The no-code version spends a block per placeholder instead, which puts every substitution on the canvas where someone who does not read code can see and test it. Choose based on who maintains the flow.
7. Send the email
- In the right panel, expand Extensions, find Gmail, and drag its Send Email block onto the canvas after the code block. Connect the two, the same way as before.
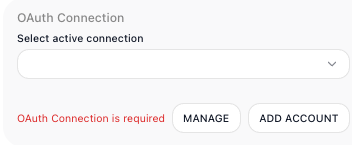
- Sign in to Gmail. The block needs permission to send as you, so it shows an OAuth Connection
field reading
OAuth Connection is required. Click ADD ACCOUNT; FlowRunner sends you to Google to sign in and approve the access, then saves the result as a connection and selects it here. - Set the recipient to wherever contact requests should land.
- For the subject, open the Expression Editor and pick
subjectfromContact Us Form Submitted Data. - For the body, pick
Perform Substitutions Result- the finished HTML your code returned. - Make sure the body is sent as HTML rather than plain text, so the template renders.
You sign in once. Every other Gmail block in this flow picks the connection up on its own, and in any other flow in the workspace it is there to choose without signing in again. See OAuth Connections.
8. Run it
Set the flow LIVE using the toolbar above the canvas. Learning Mode let you send that one sample while you were still building, but real submissions need a published flow: until the version is LIVE, a form posting to the Callback URL starts nothing.
Now submit the form for real. Open the Instances tab and you will see the run, with a tick against every block that finished and a summary telling you it completed without errors.
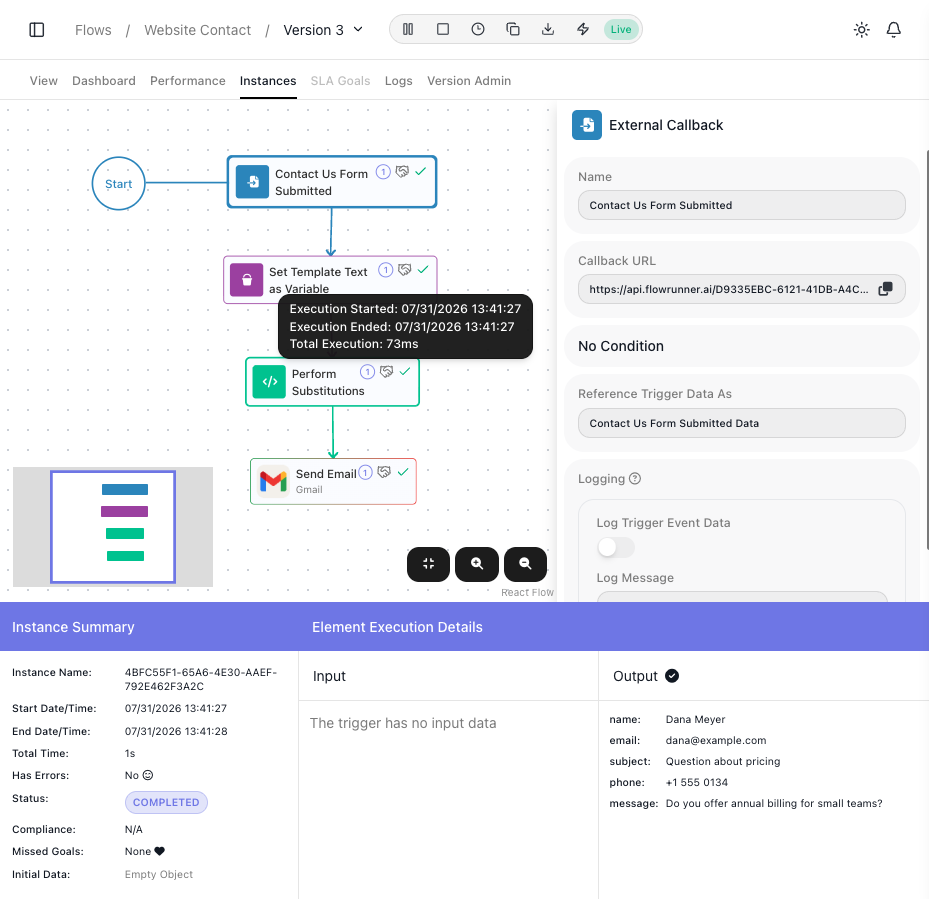
Selecting a block shows its Input and Output side by side in Element Execution Details. Above,
the trigger is selected, so the output is the five fields the form submitted. Select
Perform Substitutions and you see the template going in and the finished HTML coming out - which is where
you look first if a placeholder survives into the sent email.
What to try next
- Give the code more to do. Validate the submission, normalise the phone number, or derive a priority from the message before the email goes out. It is all the same snippet.
- Route it instead of just sending it. Send billing questions somewhere different from sales ones with Routing on a Value, or let an AI Router read the message and decide.
- Do not lose a submission when Gmail is down. Catch the failure and retry or record it. See Handling Errors.
Related
- Custom Cloud Code - arguments, the code editor, what the sandbox can and cannot do, and using a snippet as an AI agent tool
- A Contact Us Form (no-code) - the same flow with a block per placeholder
- External Callback - the trigger, its Callback URL, and Learning Mode in full
- Expression Editor - picking the values you bind to arguments